Creating and accessing a Cloud-hosted Linux Virtual Machine
Creating and accessing a Cloud-hosted Linux Virtual Machine
Creating and accessing a cloud-hosted Linux virtual machine (VM) on Azure can be done using the Azure Portal or Azure CLI. This blog will describe how I was able to create a Linux VM using the Azure Portal.
Note: You will have to create a Microsoft azure account and verify it to use its services.
Step 1: Sign in to the Azure PortalStep 2: Create a resource group
My resource group name is ubuntu.linux_group
Click on "Create a resource" in the Azure Portal and search for "Ubuntu Server". Select the version of the distribution you want to use and click "Create".
Fill in the required information such as the name of the Virtual Machine, username, and password. Choose the VM size, storage account type. Set up properties of the virtual machine. I am using the standard package which has a 4 thread CPU. I have set ram size 4GB and using a standard HDD of 64GB.
The VM will be created and a public IP address will be assigned. In my case, my public IP address was 20.255.60.24
Review the configuration settings and click "Create" to deploy the virtual machine.
These are the following properties of the virtual machine after deployment.
Step 7: Access the virtual machine
In conclusion, creating and accessing a cloud-hosted Linux VM on Azure can be done through the Azure Portal.
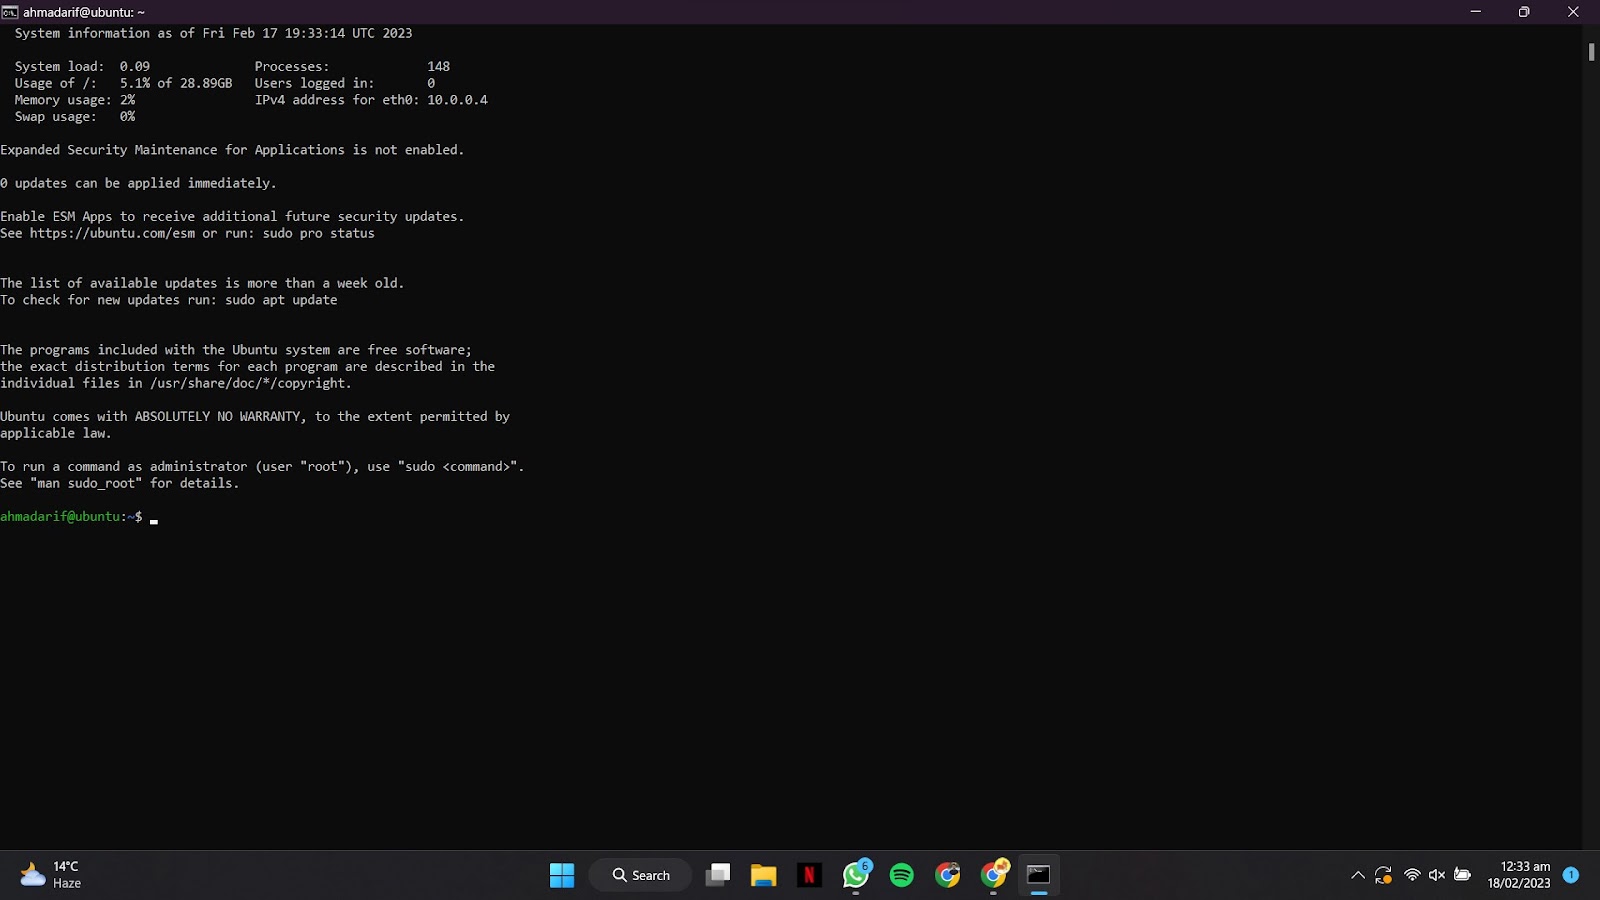
Now we will setup xrdp. After deployment of our VM we will now configure it to access xrdp.
By
default, RDP access is not enabled on Linux VM. To enable RDP access, you need
to install and configure a Remote Desktop server. For example, you can install
xrdp by running the following commands in a terminal:
sudo apt-get
update
sudo apt-get
install xrdp
You can use the following link to set up rdp: https://learn.microsoft.com/en-us/azure/virtual-machines/linux/use-remote-desktop?tabs=azure-cli
Step 9: Open the RDP port
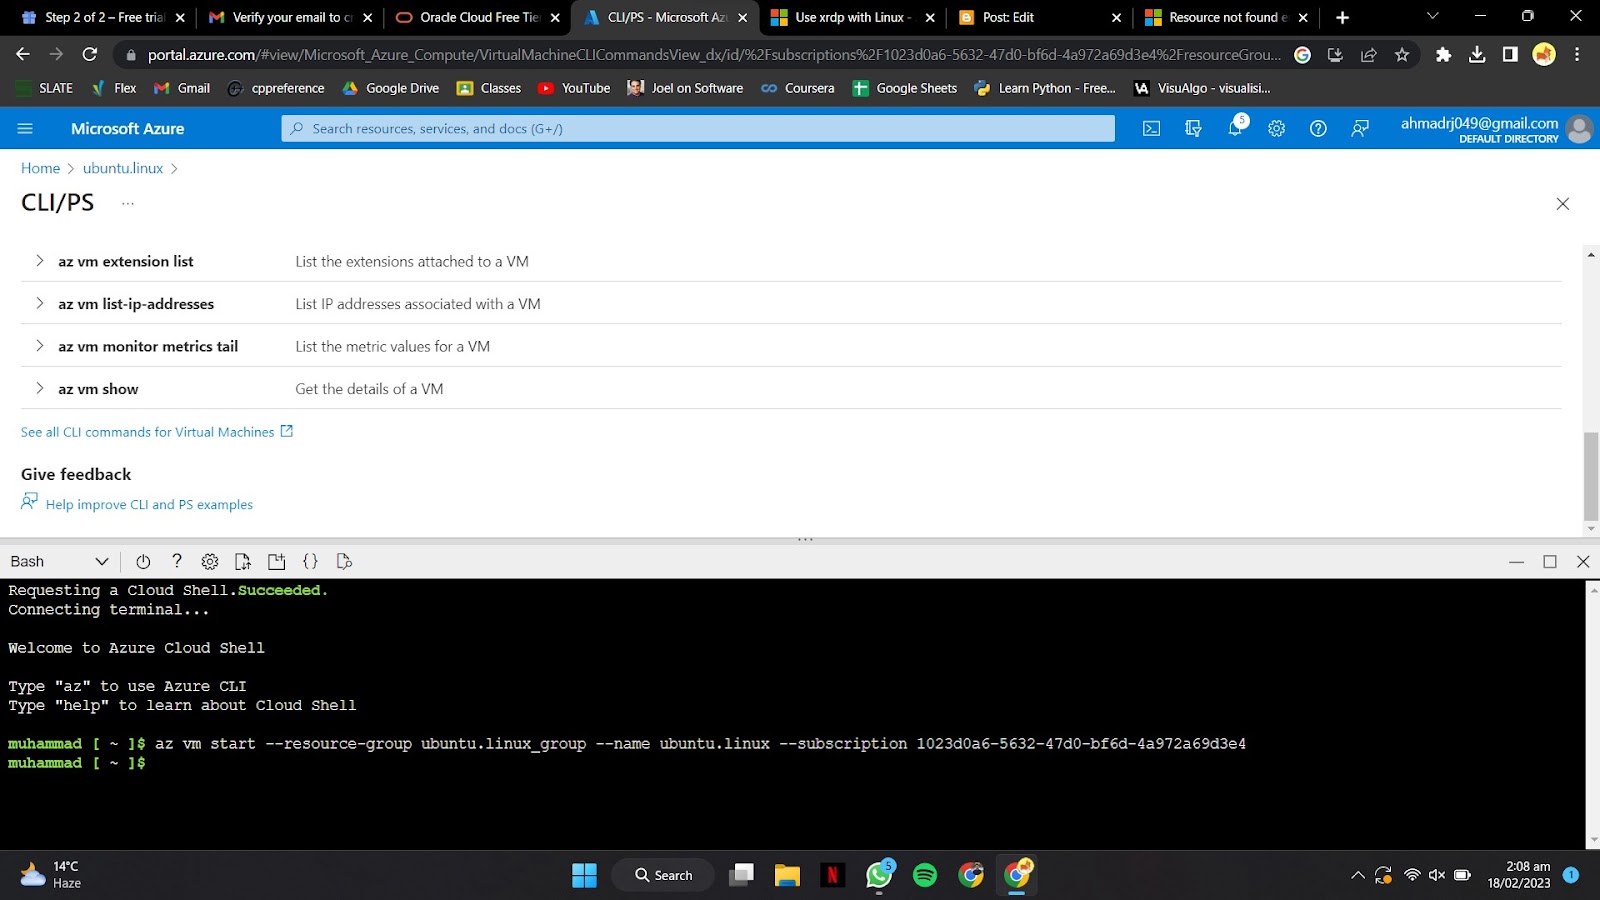
Open CLI on Azure and open the RDP port (3389) in the network security group to allow RDP access to the VM.
Step 10: Connect to the VM using RDP
Download the RDP file from the connect portal and click on it. It will take you to the xrdp. Enter the username and password you created in step 4 to log in to the VM. You should now be connected to the Linux VM using RDP.
In conclusion, creating and accessing a cloud-hosted Linux VM on Azure using RDP requires some additional configuration steps, but it can be done easily through the Azure CLI.


Comments
Post a Comment